
OMP-hobby M2 converted to Mikado Logo 200
A comprehensive article will be published at a later time, but for now, I wanted to share a brief update on my project.
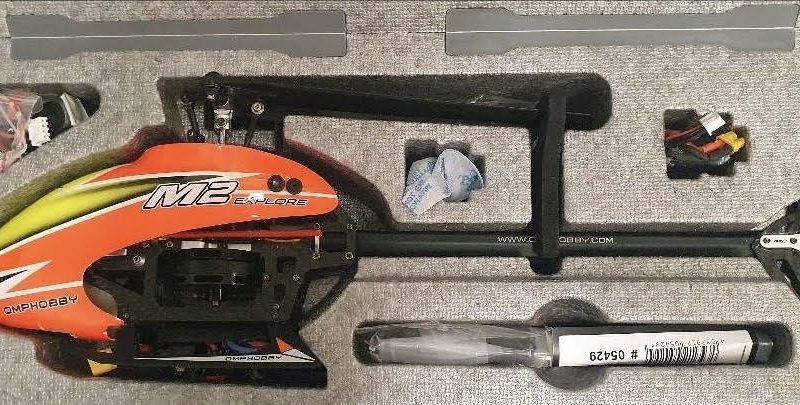
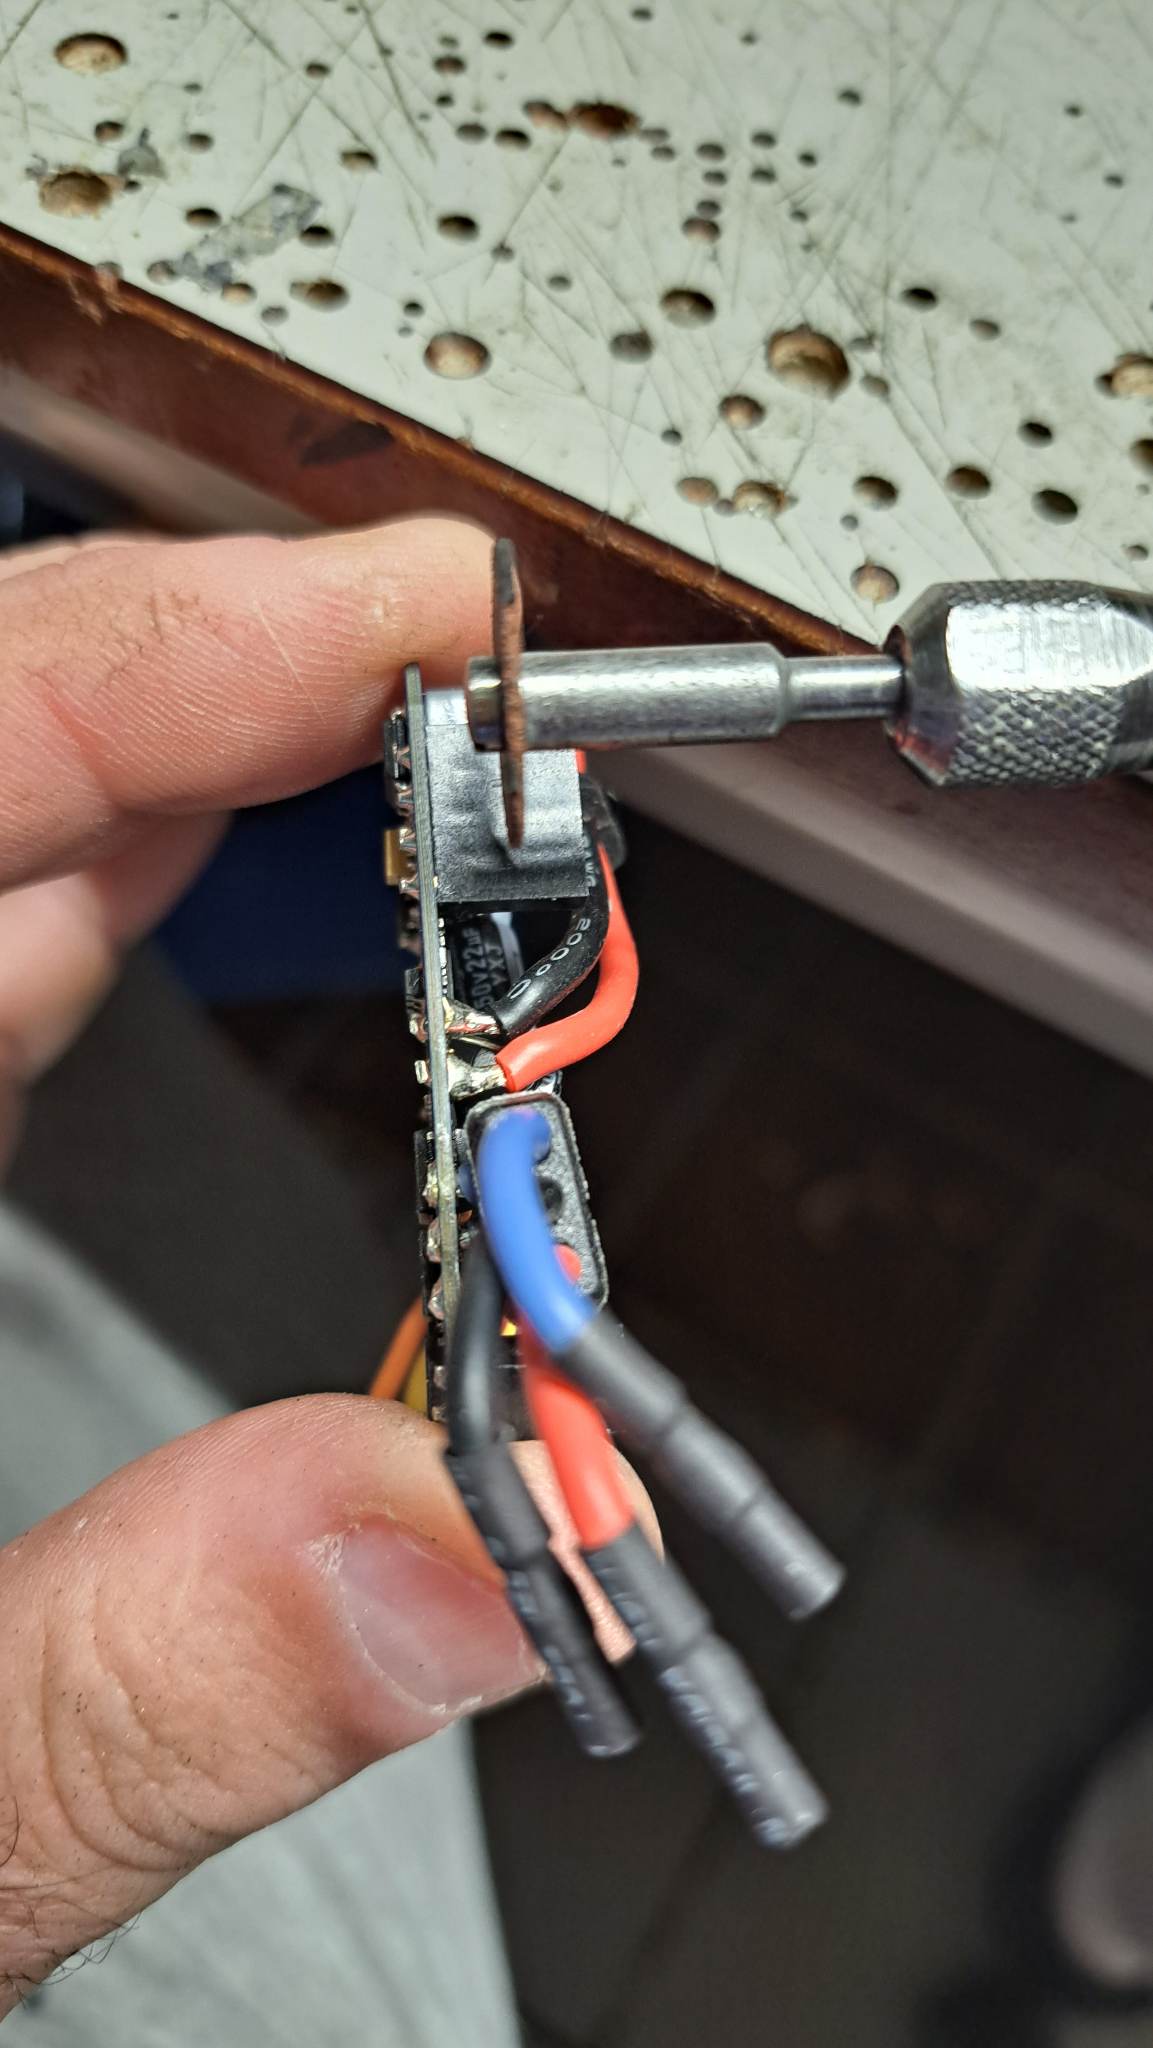
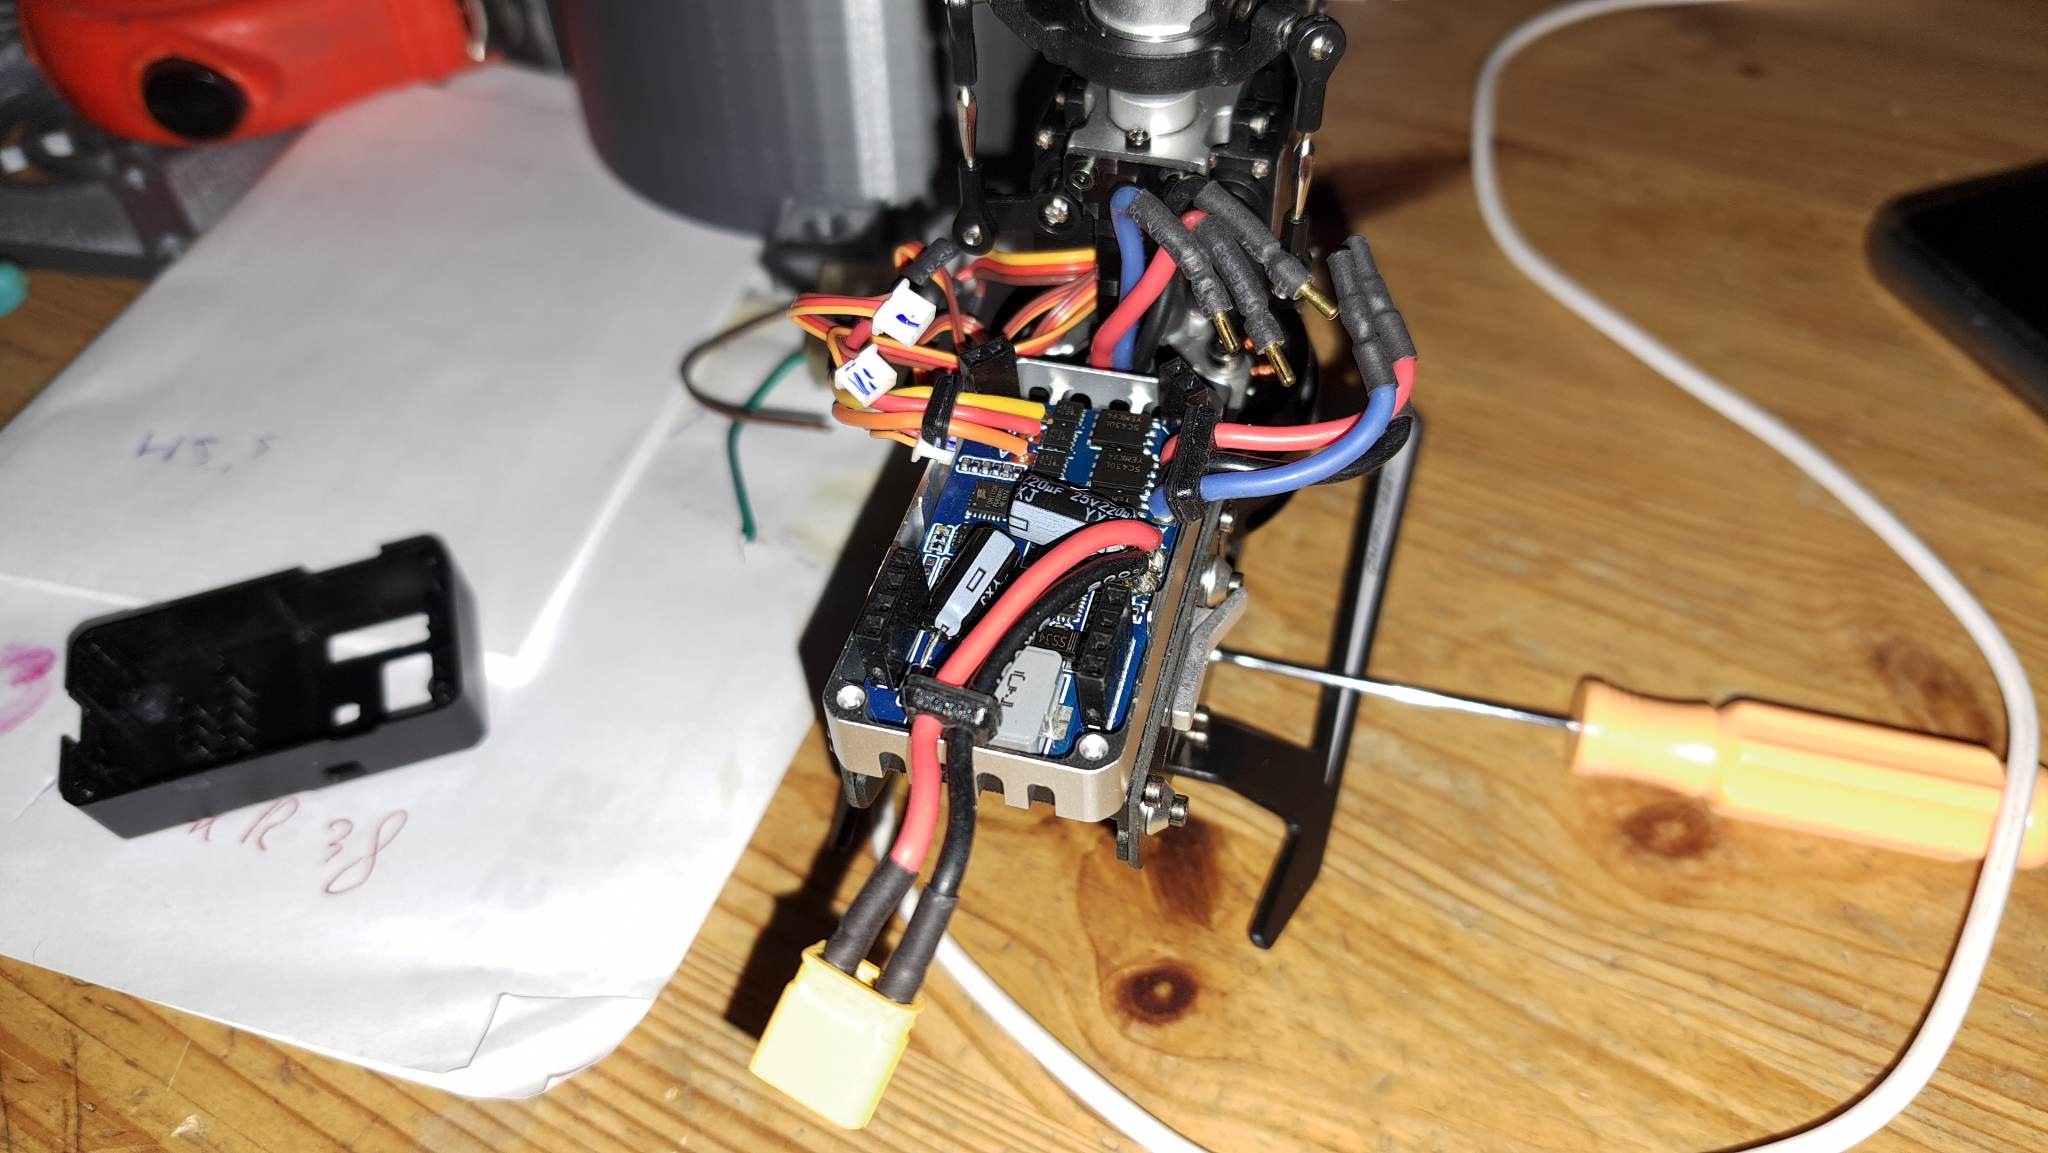
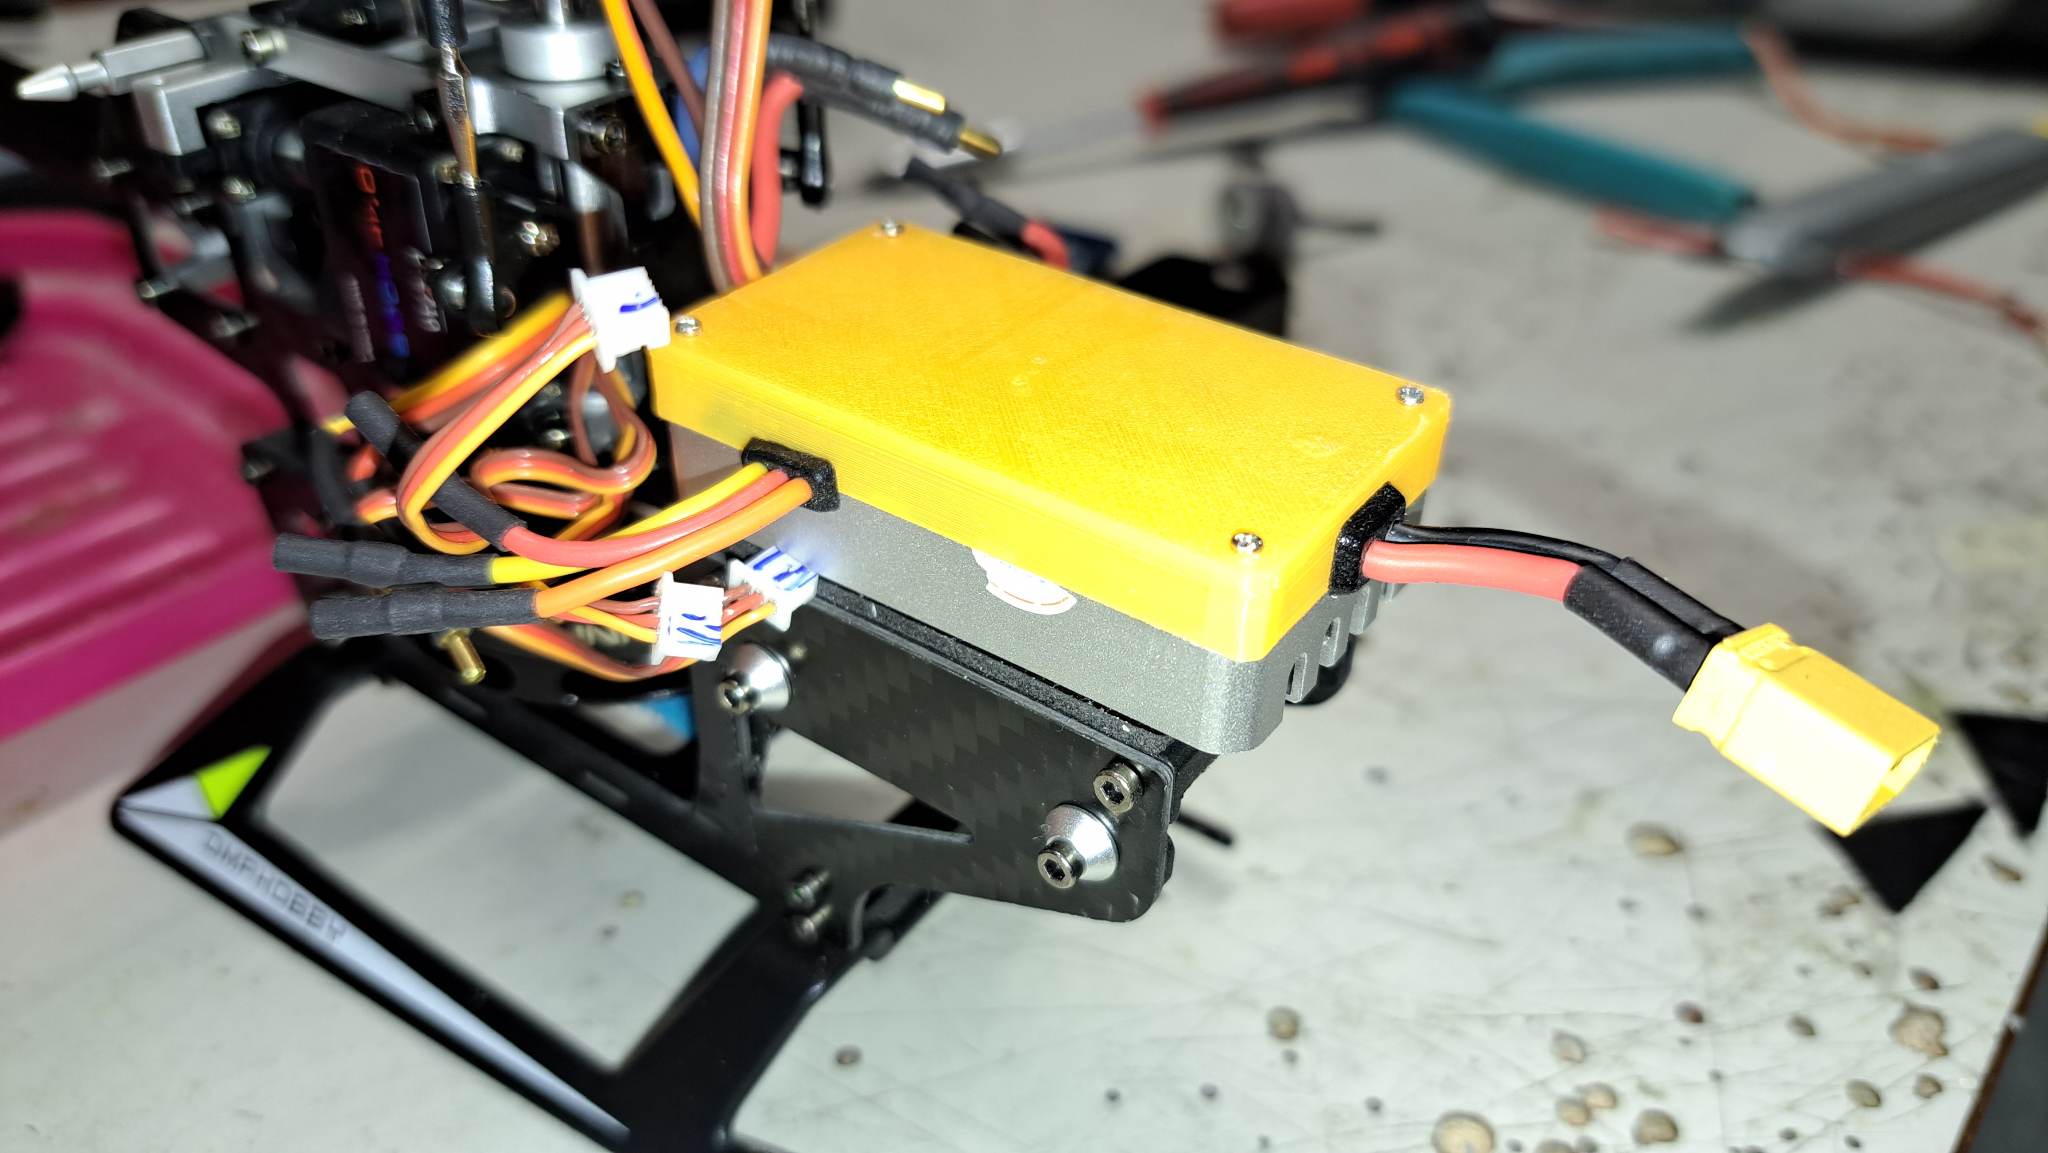
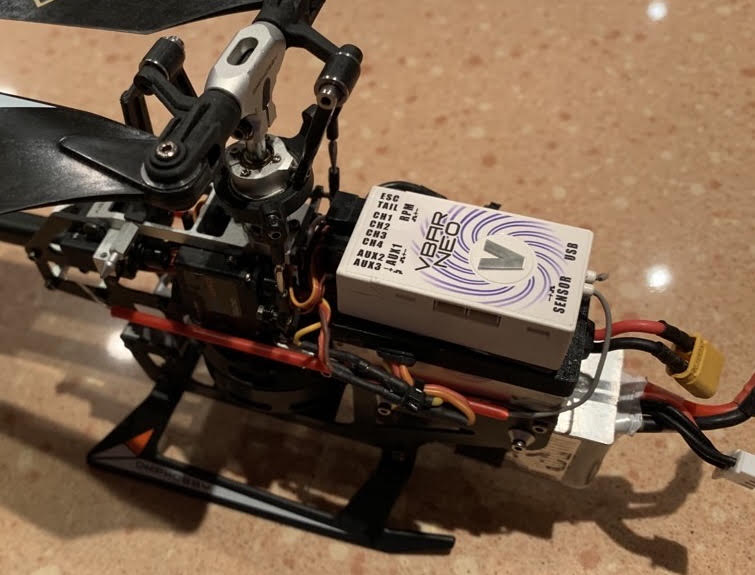
I purchased a second-hand Mikado MP2 and converted it into a Logo 200. This required some electronics and 3D printing skills, but the end result was worth it. Furthermore I also installed a standard Vbar Neo in the Logo, which was not originally designed to fit. The Vbar Neo MINI is used but is not for sale only in the kit. However, I managed to make it work by squeezing it in.
I would like to share with you my non-standard Logo 200 setup file, which I believe enhances the performance of the Logo 200. It’s more agile yet still very stable. Feel free to download and let me know your thoughts. I will continue to improve the setup and update the file accordingly.

Reminder: The setup uses the OMP Hobby M2 frame, speedcontroller, aluminium rotorhead with plastic bladegrips.